
 EN
EN



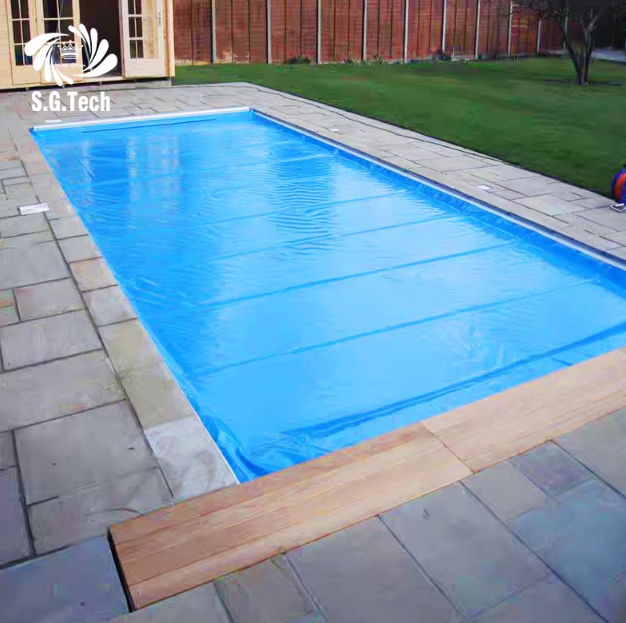
Why Irregular Pools Present a Different Challenge
Rectangular pools are straightforward. The cover rolls out in a straight line, tracks run parallel, and the math is simple. Irregular pools—kidney shapes, freeform curves, Roman-end designs, or pools with attached spas and tanning ledges—force installers to rethink everything.
The core problem is mechanical. An automatic pool cover relies on a roller mechanism that spools fabric across the pool surface. That mechanism works best when the pool has two parallel sides. Without parallel sides, the fabric can’t track evenly. It bunches, wrinkles, or fails to seal properly against the pool edges.
But irregular pools aren’t going away. According to a 2024 survey by the Association of Pool & Spa Professionals, nearly 43% of new residential inground pools built in North America feature non-rectangular designs. That’s up from 31% a decade ago. The industry has had to adapt—and the adaptation comes down to a few proven installation strategies.
The Deck-in-Deck Strategy: Giving an Irregular Pool a Rectangular Frame
The most common approach for irregular pools is called deck-in-deck installation. The concept is simple: create a rectangular zone within the irregular shape where the cover can operate, then let the remaining areas of the pool stay uncovered or get covered by manual supplemental panels.
Here’s how it works in practice. The installer identifies the longest straight section of the pool—typically the portion that approximates a rectangle. The cover mechanism (the roller, motor housing, and fabric spool) gets mounted at one end of this rectangular zone. Tracks run along the two sides of that zone, guiding the cover as it extends and retracts.
The irregular sections—curves, bump-outs, or attached spas—sit outside the track path. They remain exposed when the cover is deployed. For pools where complete coverage is a safety requirement, installers add manual cover panels that clip into place over the irregular sections. These panels aren’t automated, but they provide the same barrier function.
A 2021 case study from a Florida pool installation company tracked 47 irregular pool cover installations over 18 months. The deck-in-deck method accounted for 38 of those installations. The average installation time was 14 hours for deck-in-deck versus 22 hours for fully custom track systems—a meaningful difference in labor cost.
Step-by-Step: What Actually Happens On-Site
The installation process for an irregular pool cover breaks down into six distinct phases:
Phase 1: Precision Measurement – This is where most mistakes happen. The installer maps the pool’s geometry, identifying the rectangular zone and marking track positions. Measurements must be accurate to within ¼ inch. A pool that’s out of square by even 2 inches can cause tracking problems. Some installers use laser measuring tools; others still rely on manual tape measures with multiple cross-checks.
Phase 2: Vault or Housing Installation – The cover mechanism sits inside a vault—a recessed box installed below the deck surface at one end of the pool. For irregular pools, the vault placement is critical. It must align with the rectangular zone’s centerline. If the vault is offset, the fabric will track at an angle. Vault dimensions depend on pool width; a 50-foot pool requires a larger vault than a 30-foot pool because more fabric needs to spool.
Phase 3: Track Installation – Tracks get mounted along the two sides of the rectangular zone. For irregular pools, tracks may need to start and stop before the pool’s edge, rather than running the full length. This is called a “bridging” installation. The tracks must be level and parallel—any deviation and the cover will bind.
Phase 4: Fabric Installation and Tensioning – The cover fabric gets attached to the roller and fed through the tracks. Tension must be sufficient to keep the fabric taut but not so tight that it strains the motor. For irregular pools, the fabric often requires custom cutting to match the pool’s specific dimensions. Off-the-shelf covers won’t work.
Phase 5: Motor and Control Wiring – The motor connects to the pool’s electrical system. Some controllers use low-voltage wiring; others run on standard household voltage. The installer must verify the correct wiring specification before connecting—mismatches are a common source of post-installation service calls.
Phase 6: Testing and Adjustment – The cover runs through several open-close cycles. The installer checks for smooth operation, proper sealing at the pool edges, and correct limit switch functionality. Adjustments to track alignment, fabric tension, or motor settings happen during this phase.
The Numbers That Matter: Clearances, Overlaps, and Tolerances
Getting the clearances right separates a trouble-free installation from one that generates service calls every season.
These numbers aren’t optional. A cover installed with 3 inches of overlap instead of 6 inches might still look functional, but it won’t meet ASTM F1346-23 safety standards. That standard, which governs safety covers for swimming pools, requires specific performance testing to demonstrate compliance. Installers who ignore these tolerances expose pool owners to liability and void any certification the cover might carry.
Common Pitfalls That Turn a Simple Job into a Headache
Even experienced installers run into problems with irregular pools. The most frequent issues include:
Mis-sized vaults – Contractors sometimes assume bigger is better. A vault that’s too wide won’t allow the mechanism to stretch properly. One that’s too narrow won’t fit the roller at all. The correct vault size depends on both pool width and fabric thickness—specifications that vary by manufacturer.
Inadequate drainage – Cover vaults sit below grade. Without proper drainage, water accumulates inside the vault, causing corrosion of electrical components and rust on mechanical parts. Even “waterproof” motors don’t survive prolonged submersion.
Improper waterline height – Some builders keep the waterline high for aesthetic reasons. But an automatic cover needs clearance between the water surface and the coping for the leading edge to operate. A waterline that’s too high forces the cover to drag through water, increasing motor strain and reducing fabric life.
Skipping the calibration step – After installation, the cover’s limit switches must be calibrated so the motor knows when to stop. Skipping this step leads to covers that either don’t fully close or over-tighten and strain the fabric.
A Real-World Fix: The Arizona Resort That Couldn’t Close Its Cover
A resort in Scottsdale, Arizona, installed a freeform pool with a kidney-shaped design in 2020. The automatic cover worked for exactly one season. By the second summer, the cover would stop halfway during closure, requiring manual intervention every time.
The service team diagnosed the problem as a combination of track misalignment and fabric stretching. The pool’s irregular shape had forced the original installers to use a non-standard track layout—one that placed the tracks at a slight angle to each other. Over time, the fabric wore unevenly, creating a drag point that triggered the motor’s overload protection.
The fix wasn’t simple. The team had to remove the coping stones on one side of the pool, realign the tracks to true parallel, and replace the fabric with a heavier-grade material less prone to stretching. The total repair cost ran to $8,200—significantly more than the original installation had cost. The resort’s facilities manager later commented that if the original installers had spent an extra two hours on track alignment, the repair would never have been necessary.
When an Automatic Cover Simply Won’t Work
Not every irregular pool can accommodate an automatic cover. Pools with extreme freeform shapes, multiple integrated spas, or elaborate tanning ledges often make automatic coverage impossible. The rectangular zone required for track operation simply doesn’t exist.
In these cases, the honest answer is a manual safety cover. Manual covers use a grid of straps and anchors that conform to any shape. They don’t offer the convenience of push-button operation, but they provide the same ASTM-compliant safety barrier. For pool owners who prioritize aesthetics over automation, a high-quality manual cover is often the better long-term choice.
The key takeaway: automatic covers work on most irregular pools, but not all. A competent installer will tell a client when the design won’t work rather than forcing a compromised installation that fails within a year.
For pool builders and property managers sourcing automatic cover systems, Guangdong Water Crown manufactures a range of automatic and manual cover options with in-house production and ISO-certified quality control. Their experience with custom configurations for non-standard pool shapes makes them a practical resource for projects that require more than off-the-shelf solutions.
Table of Contents
- Why Irregular Pools Present a Different Challenge
- The Deck-in-Deck Strategy: Giving an Irregular Pool a Rectangular Frame
- Step-by-Step: What Actually Happens On-Site
- The Numbers That Matter: Clearances, Overlaps, and Tolerances
- Common Pitfalls That Turn a Simple Job into a Headache
- A Real-World Fix: The Arizona Resort That Couldn’t Close Its Cover
- When an Automatic Cover Simply Won’t Work